| Series |
|---|
Day 8: 24 Insights In 24 Days – 2020 New Year Marathon!
A Colorist’s Perspective on the 2019 Mac Pro
When Apple finally announced the long-awaited redesigned Mac Pro, it was major news across all creative fields. Shortly after the announcement, we recorded a podcast with our reactions, and it’s safe to say I was probably the most excited and hopeful for the new workstation.
Well, the time has come – the 2019 Mac Pro is released and I decided to put my money where my mouth is. That’s right – on launch day I ordered a pretty high spec Mac Pro to serve as my main color grading workstation.
I’ve got the machine installed and I’ve been working on it for a few weeks now – so I wanted to write an in-depth review and talk about my ideal configuration for color grading.
To Build or Not to Build – That is the question
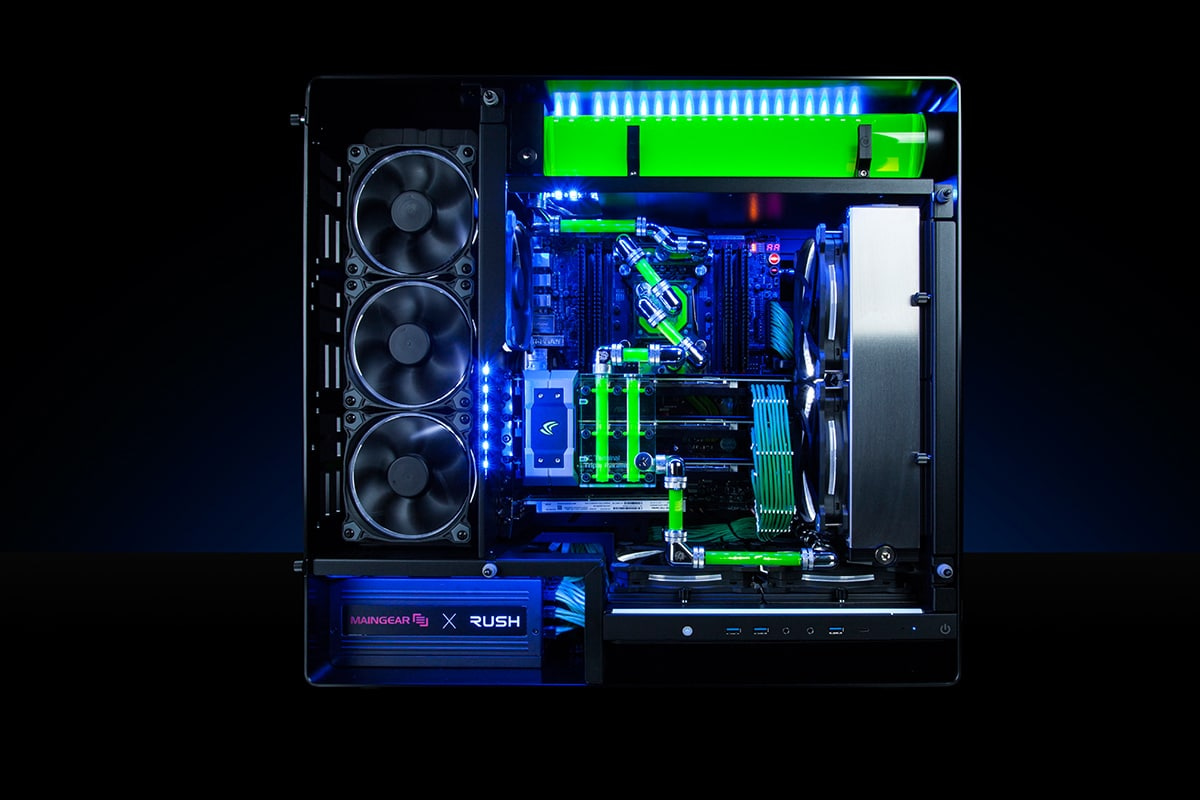
Whether ‘tis nobler in the mind to suffer the slings and arrows of trying to build your own PC, or to take arms against a sea of driver errors and just buy something that works out of the box?
This has been a constant question in many colorists’ minds. We all know, even though this new Mac is very powerful, that you could build a similar performing PC, using gamer-quality parts, for a much cheaper price. If you are willing to support it and invest the time into configuring it properly – a custom PC is a fantastic option for many creatives.
Personally – I get very anxious about equipment failure because I’ve seen it happen. I am adamant about backups, redundancy, and using professional gear.
This does limit me somewhat in performance. Things like water cooling, overclocking, Hackintoshes, are out of the question in my mind. When I buy a workstation – I am investing in a core part of my business. I expect it to work hard every day for years, and I don’t ever want to miss a deadline or hurt a client’s project because of a computer problem.
That’s why before the Mac Pro – I swore by HP’s excellent line of Z workstations. However – I do recognize a lot of professionals have gotten really good at building their own systems and keeping them working reliably. In fact – Robbie is currently building an absolute monster of a custom Ryzen system – so in future Insights, Mixing Light will definitely be exploring and comparing that option as well.
Like any other major equipment purchase – only you can decide what makes the most sense for your business. But for me – I’m always going to invest in a professional workstation. Even if it costs a bit more, and maybe isn’t the absolute maximum possible performance.
Why the Mac Pro?
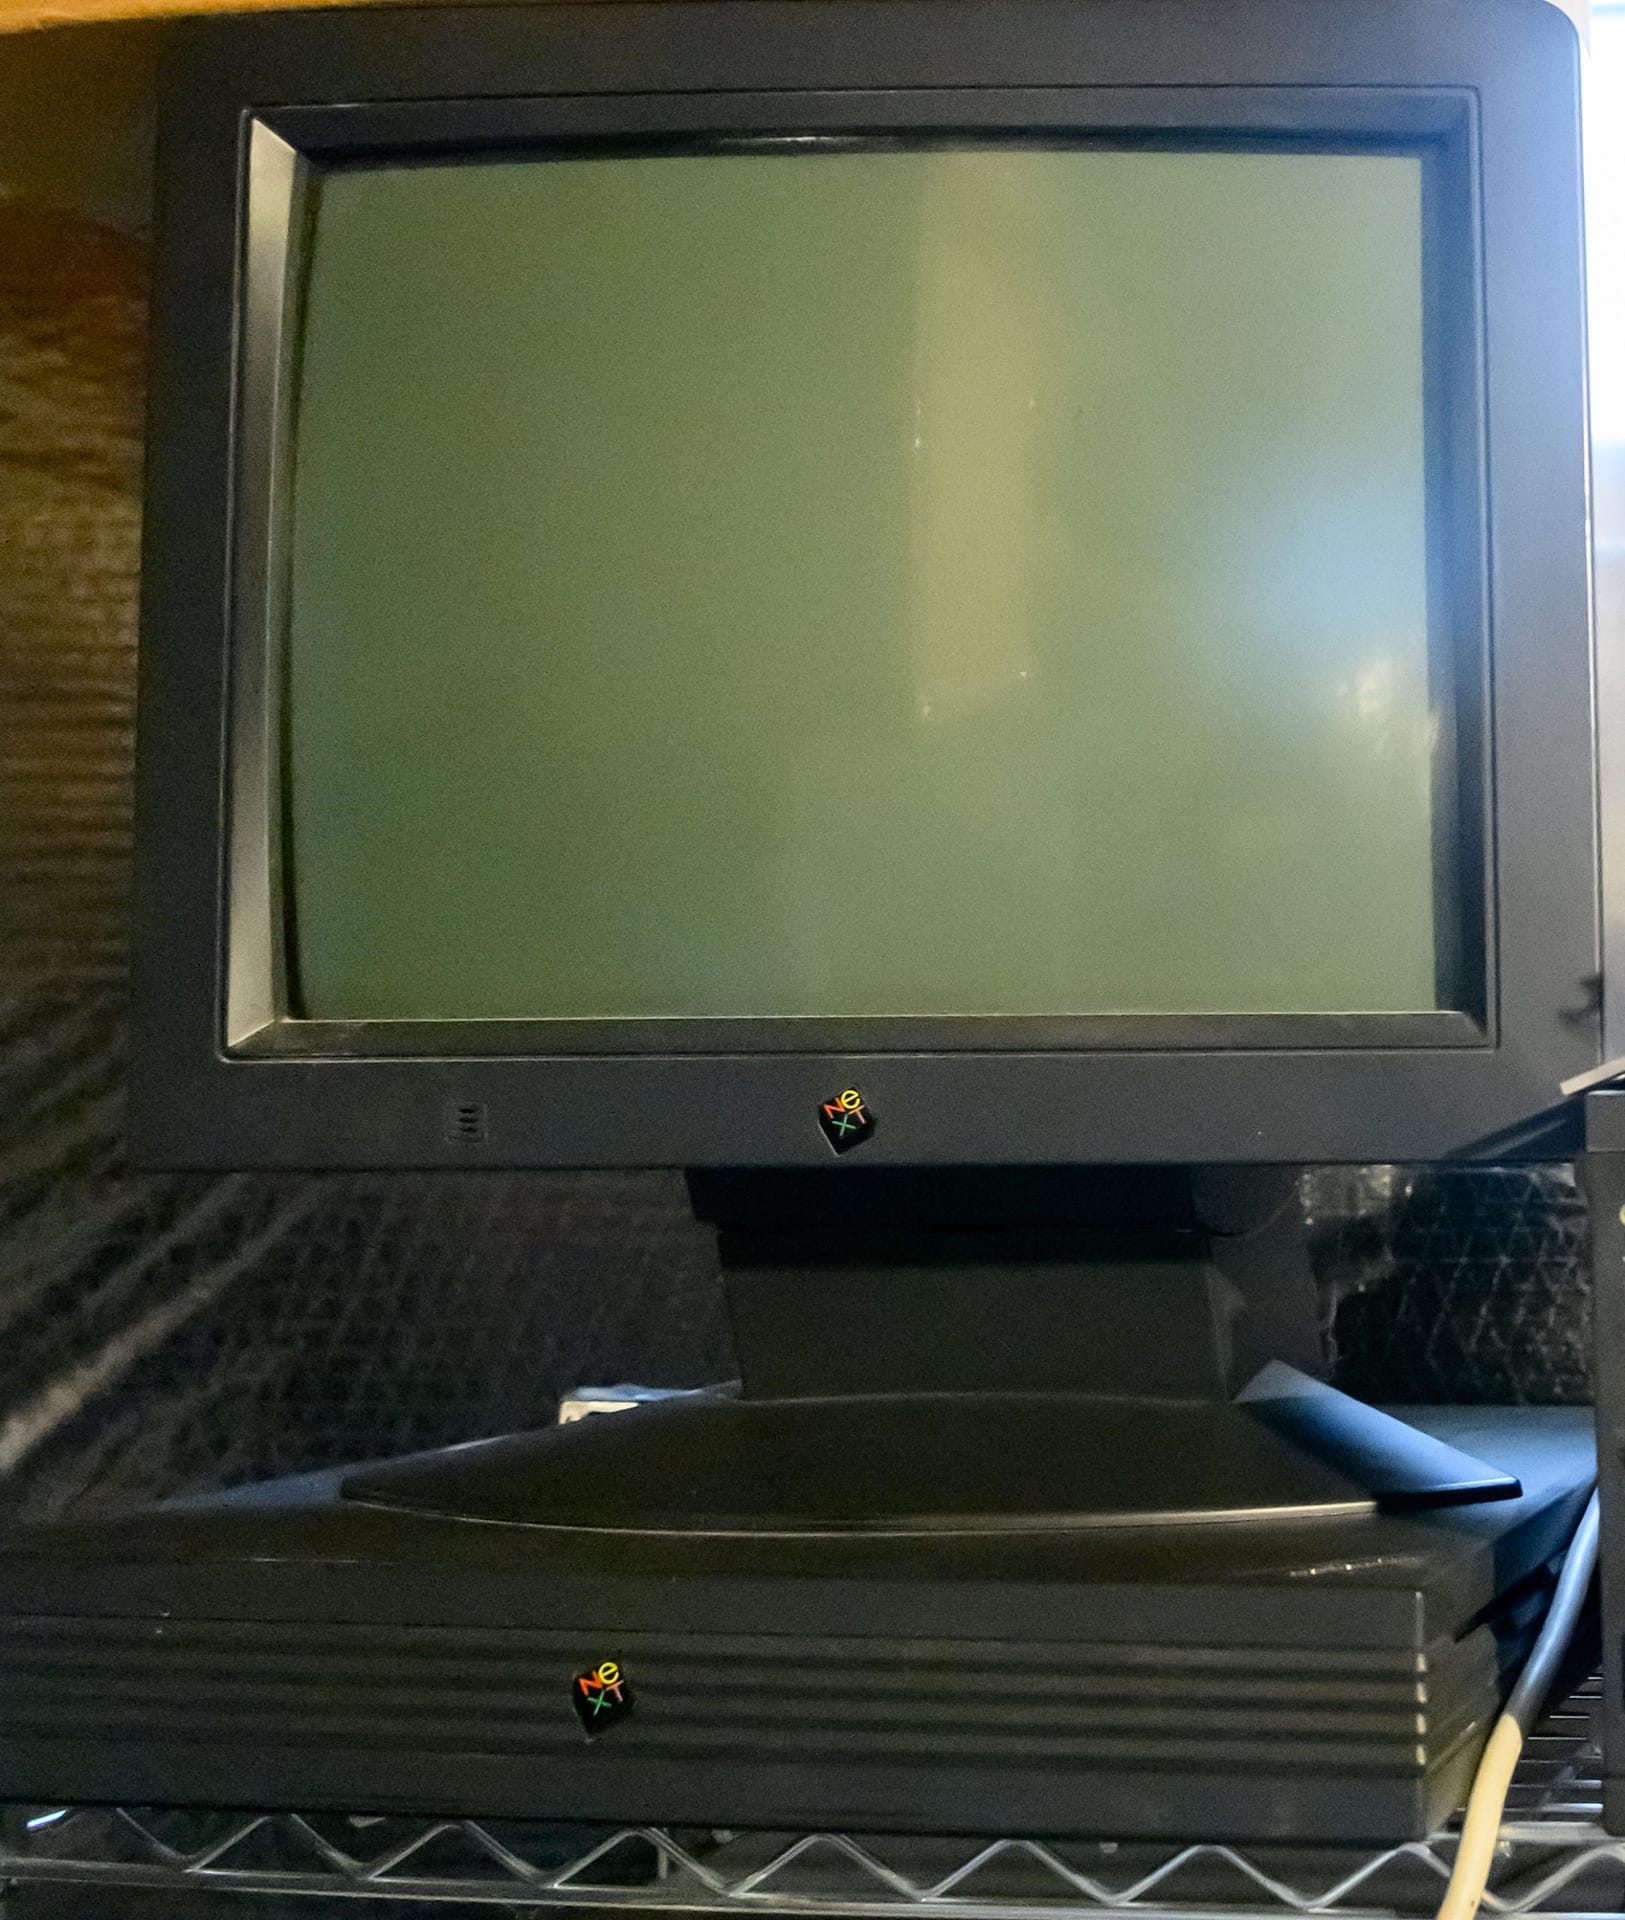
I’ve been a Mac OS X lover since before it even existed in its current form. I grew up using UNIX workstations from SGI and Sun, and used NeXT computer systems, which eventually evolved into Mac OS X after Apple bought NeXT computer in 1996.
I do think Windows 10 is an excellent operating system, but if I have the choice – I would rather be on something UNIX based. The utility of being able to jump into a terminal and whip up quick scripts or tools, in an OS that I’m so comfortable with is a huge timesaver. As a bonus, Resolve on Mac has native ProRes encoding, which is a big plus.
Unfortunately – software isn’t the whole story. I’ve been on Windows almost exclusively for the past decade for one main reason: the hardware available was just way more powerful, reliable and professional.
When Apple announced the ill-fated trashcan Mac Pro – I immediately dismissed it. I didn’t consider it a professional workstation. It wasn’t expandable, and with one look at the cooling design I predicted massive heat problems. My predictions ended up coming true – and the 2013 machines were plagued with GPUs that failed under high load due to heat. Even if you were lucky enough to get a unit without GPU issues, the lack of upgradability made it hard to stomach the cost for a machine that can’t really be updated.
With that in mind, Apple had a huge task to redeem themselves in my eyes if they wanted me to seriously consider them a workstation vendor again. Well, Apple: Mission Accomplished. I was blown away by the design, expandability, features, and performance of the 2019 Mac Pro.
First and foremost – this machine is still using workstation level components. Xeon CPUs, ECC registered RAM, a beefy power supply, and an integrated, system wide cooling strategy. However, the rest of the design goes even further – making for a seriously well-built machine.
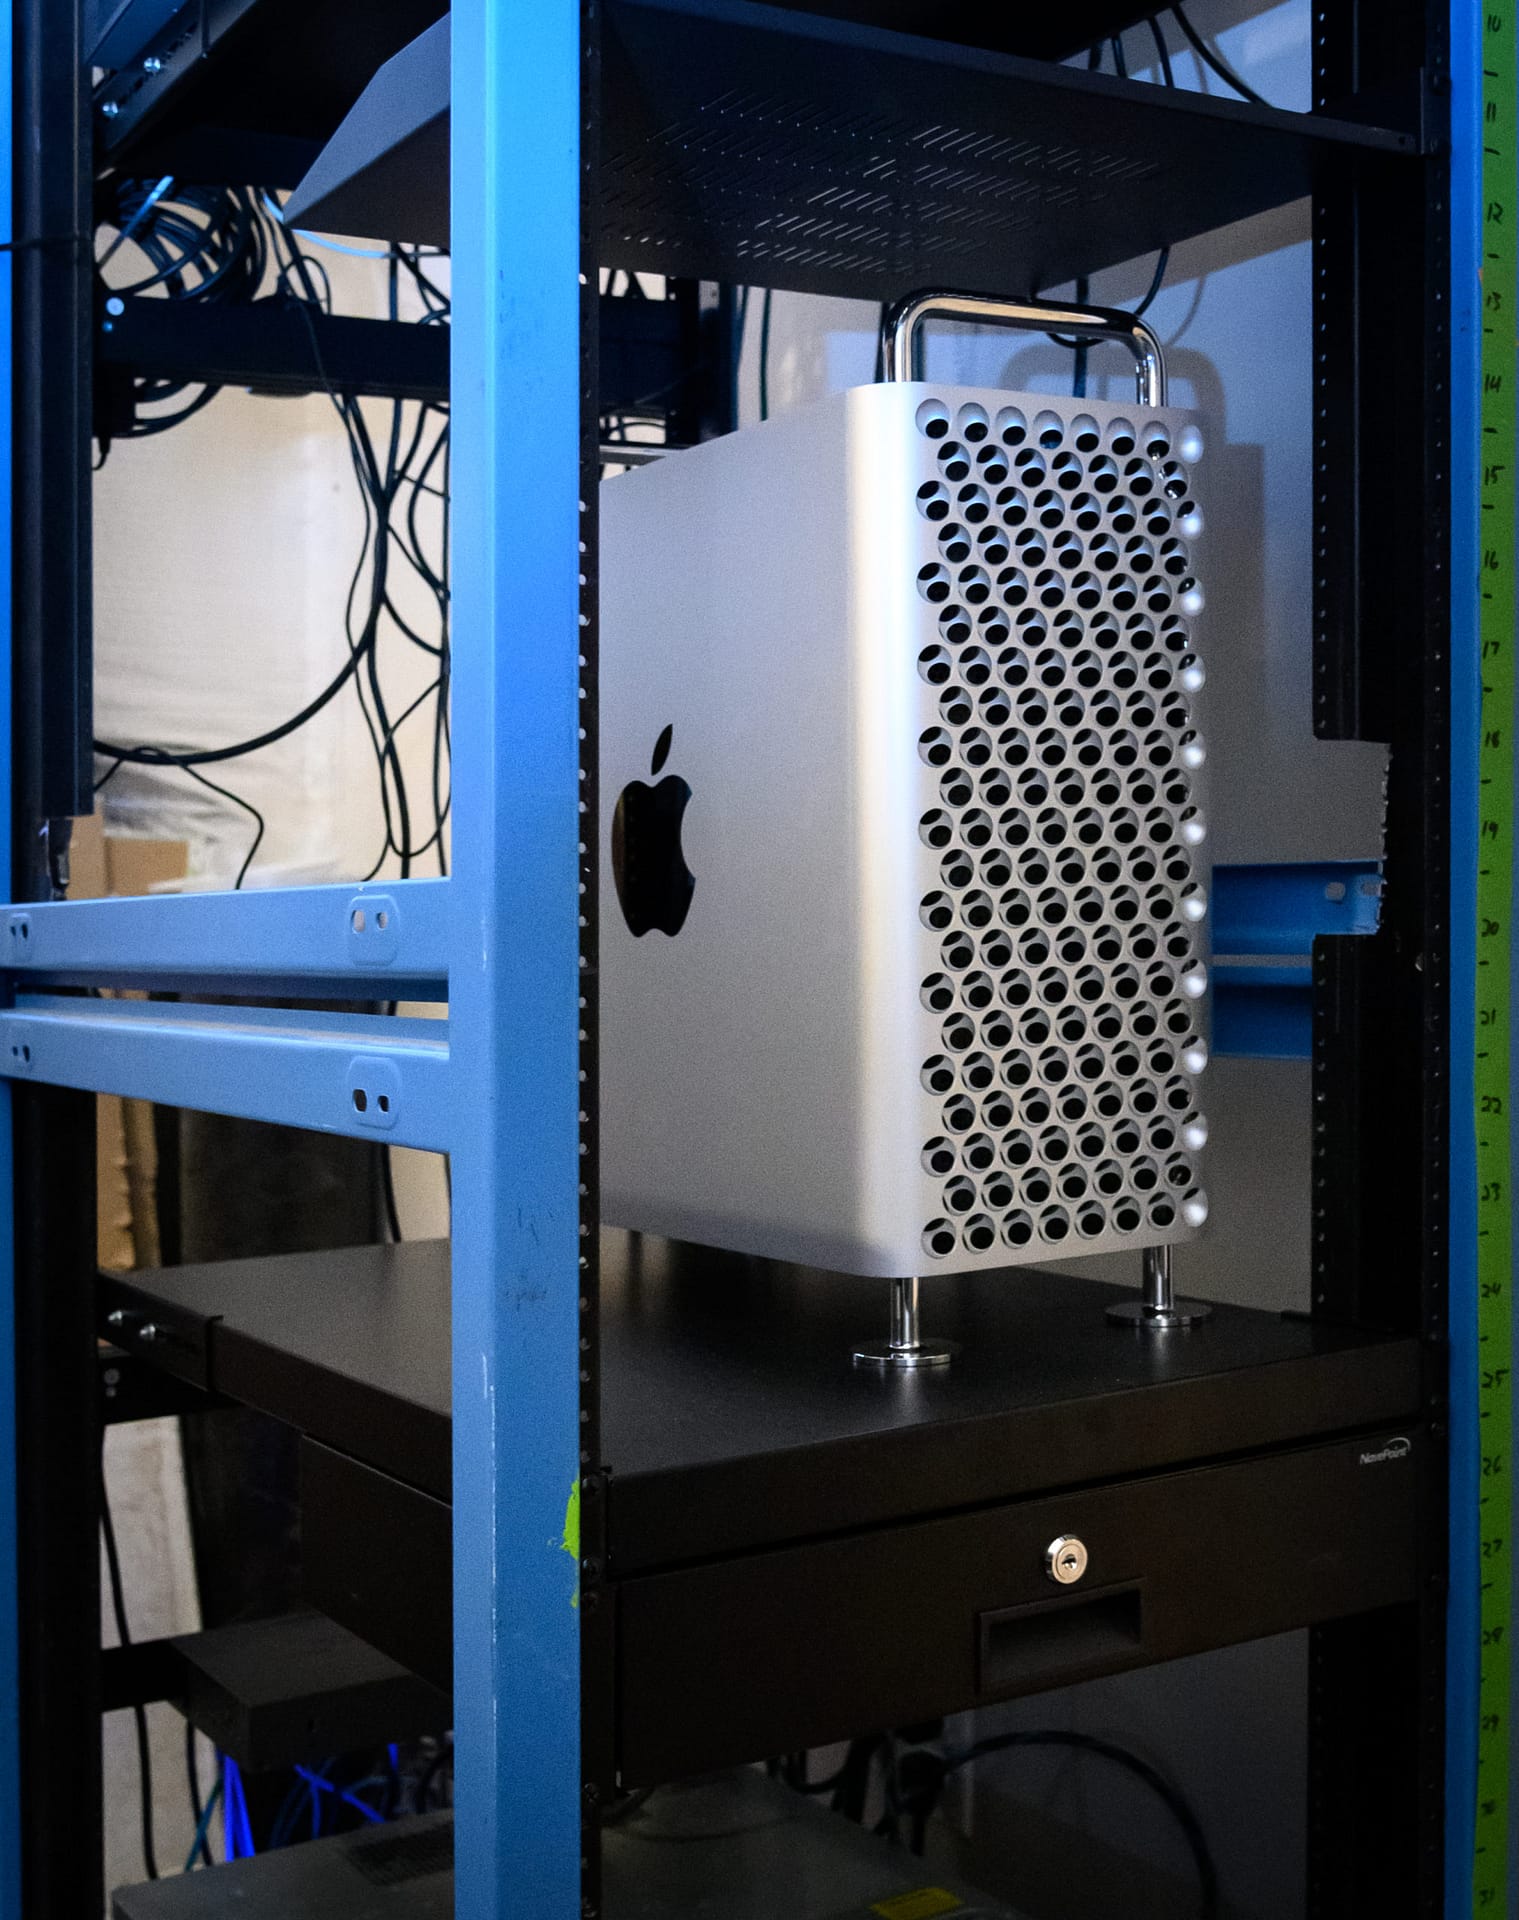
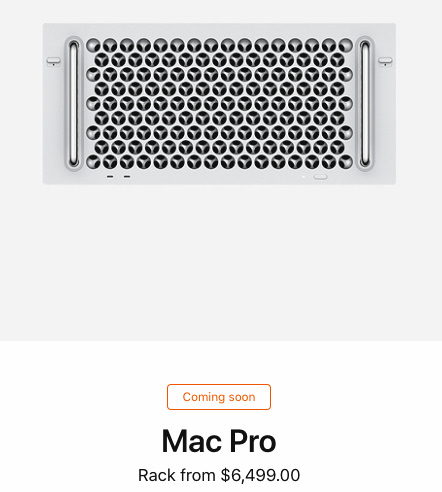
The Chassis
The 2019 Mac Pro is a beautifully designed, all-aluminum tower chassis. It sits on feet, or optional wheels. It’s a bit bigger, and much heavier than my Z840, but the 2 handles on top make lifting and moving it around an easy, one-person job.
There is also an upcoming rackmount version – which all things being equal, I would rather have. Unfortunately, I needed a new workstation in the short term – and the rack model isn’t shipping yet.
Cooling
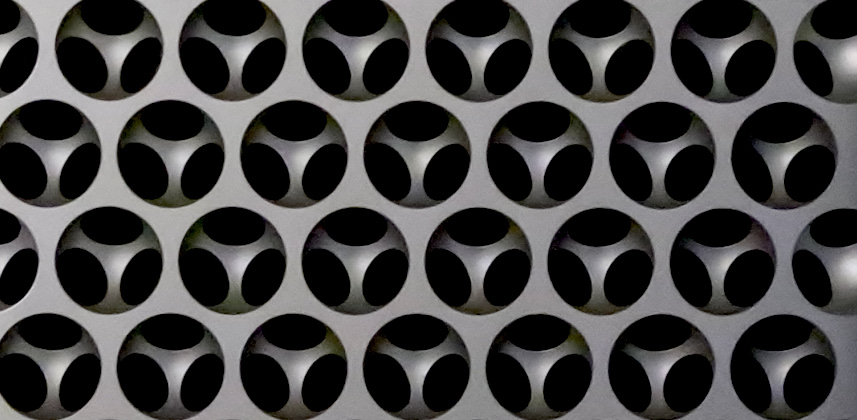
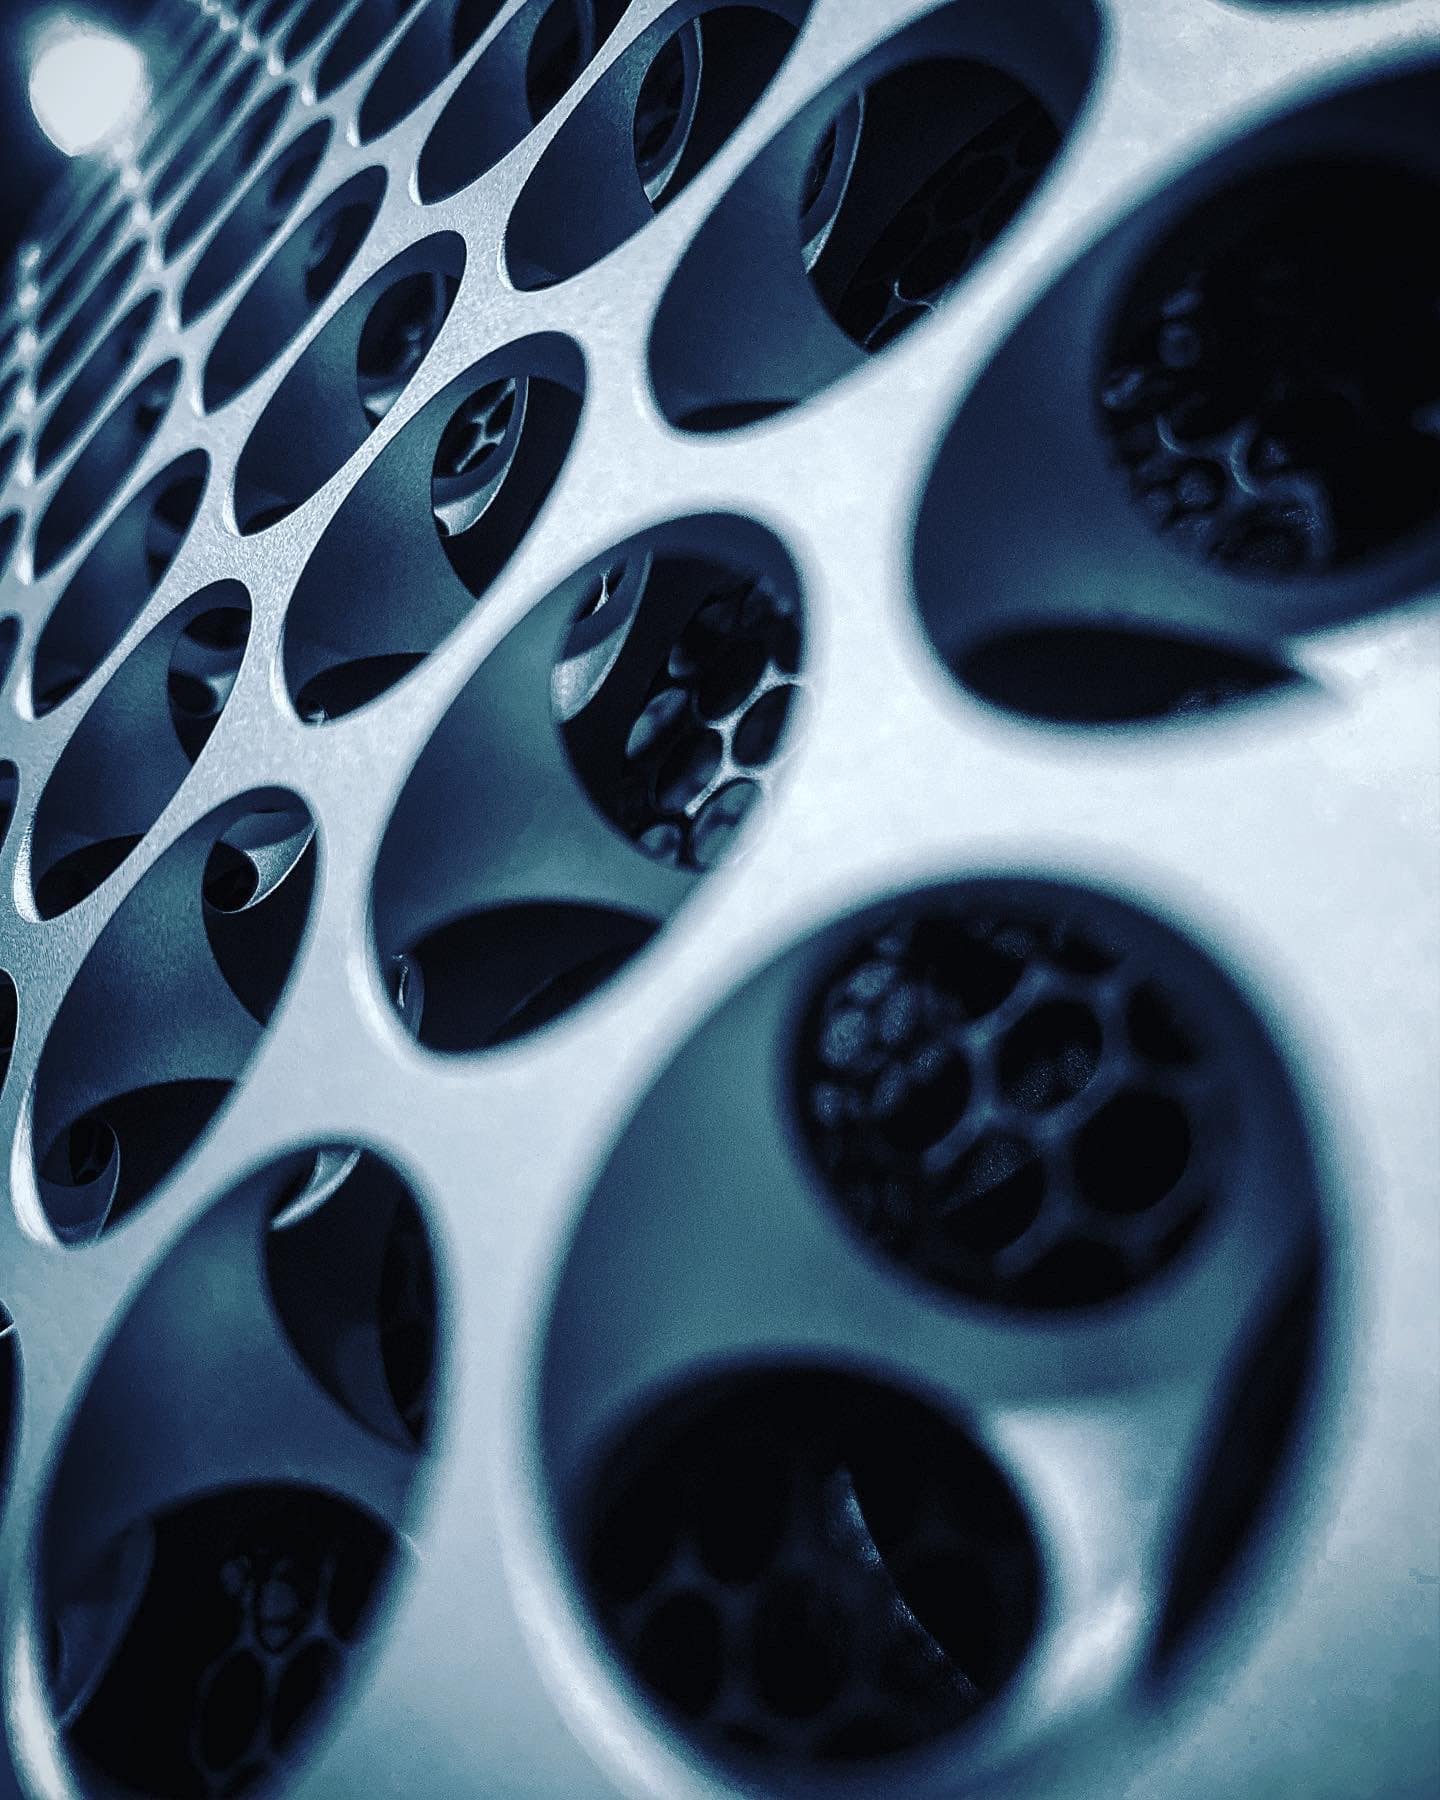
The 2019 Mac Pro has a fantastic thermal design. Instead of a conglomeration of fans and heatsinks for each component, with air moving all around inside the case – the Mac Pro adopts a traditional workstation style flow-through cooling system. It starts with 3 huge fans on the front, which move air through the aluminum chassis and across all components.
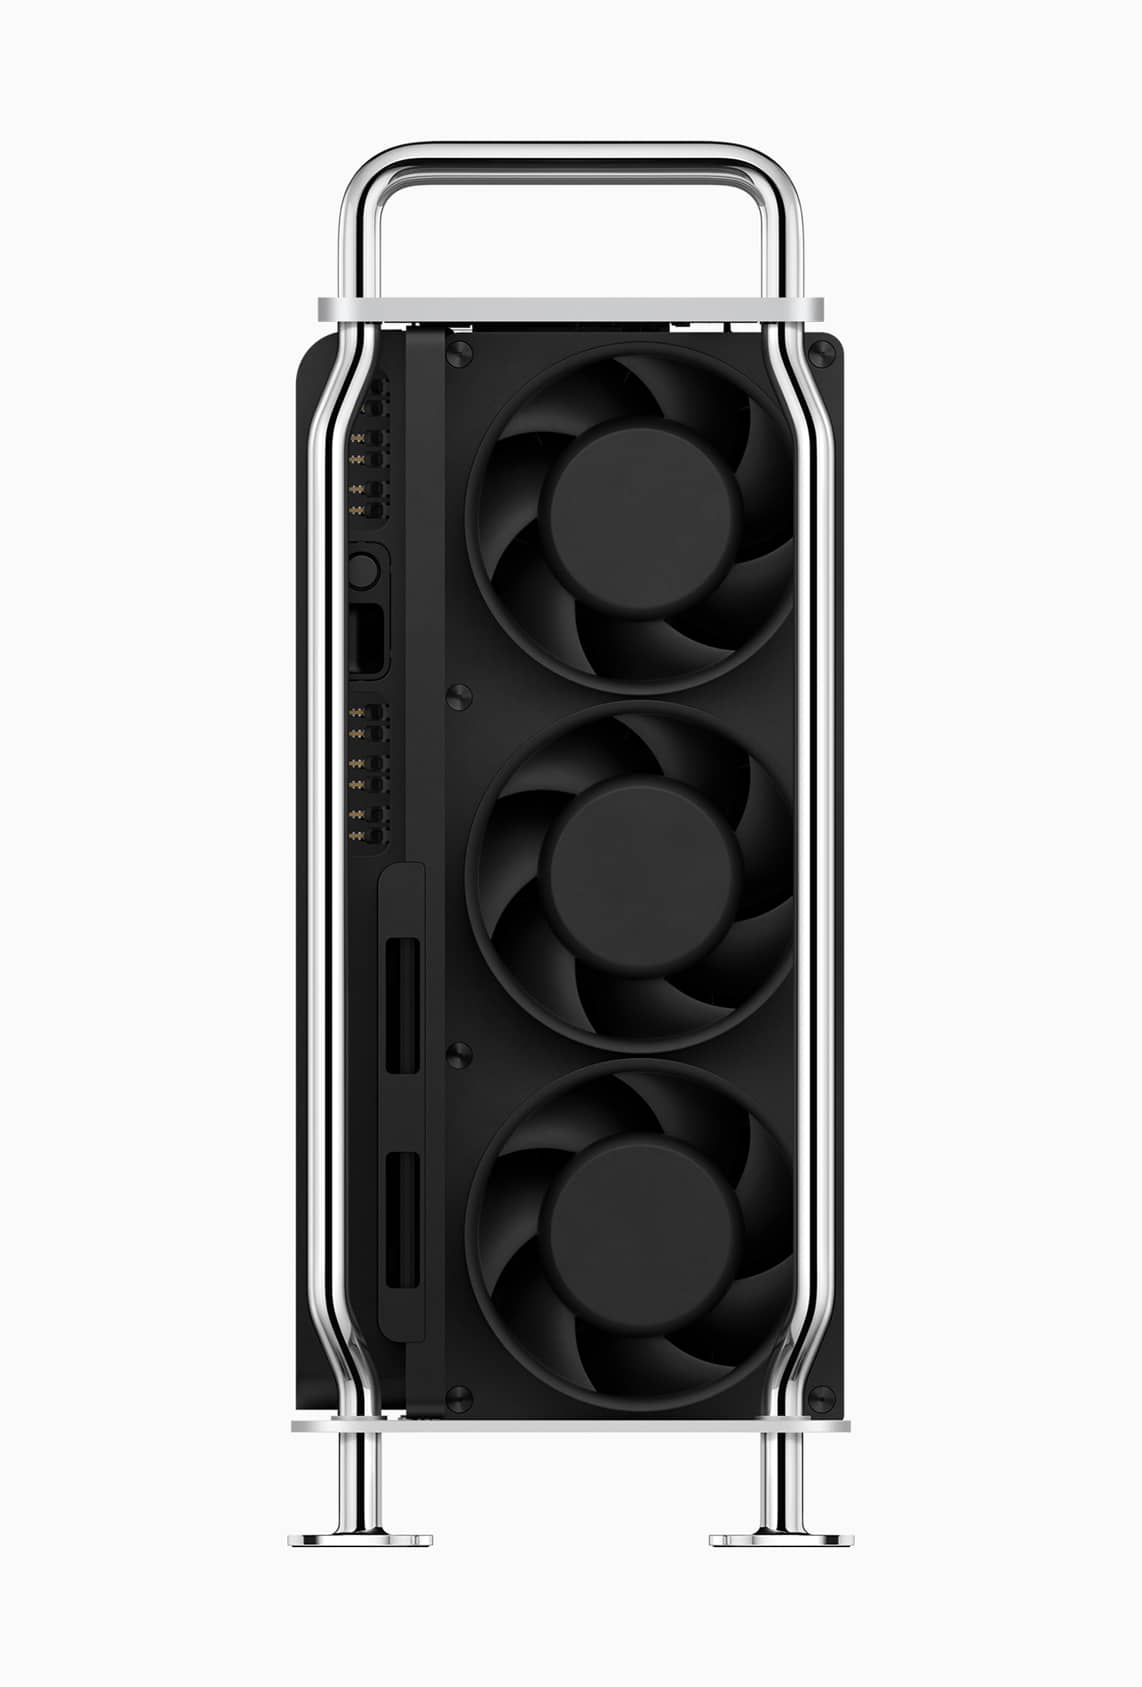
The CPU and GPUs are all encased in aluminum housings with heat pipes and fins, the air is forced over to cool the system. In effect – this allows the system to pressurize its internals with fresh air, consistently. The end result? Even under very high load – the fans barely even spool up! The machine is nearly silent.
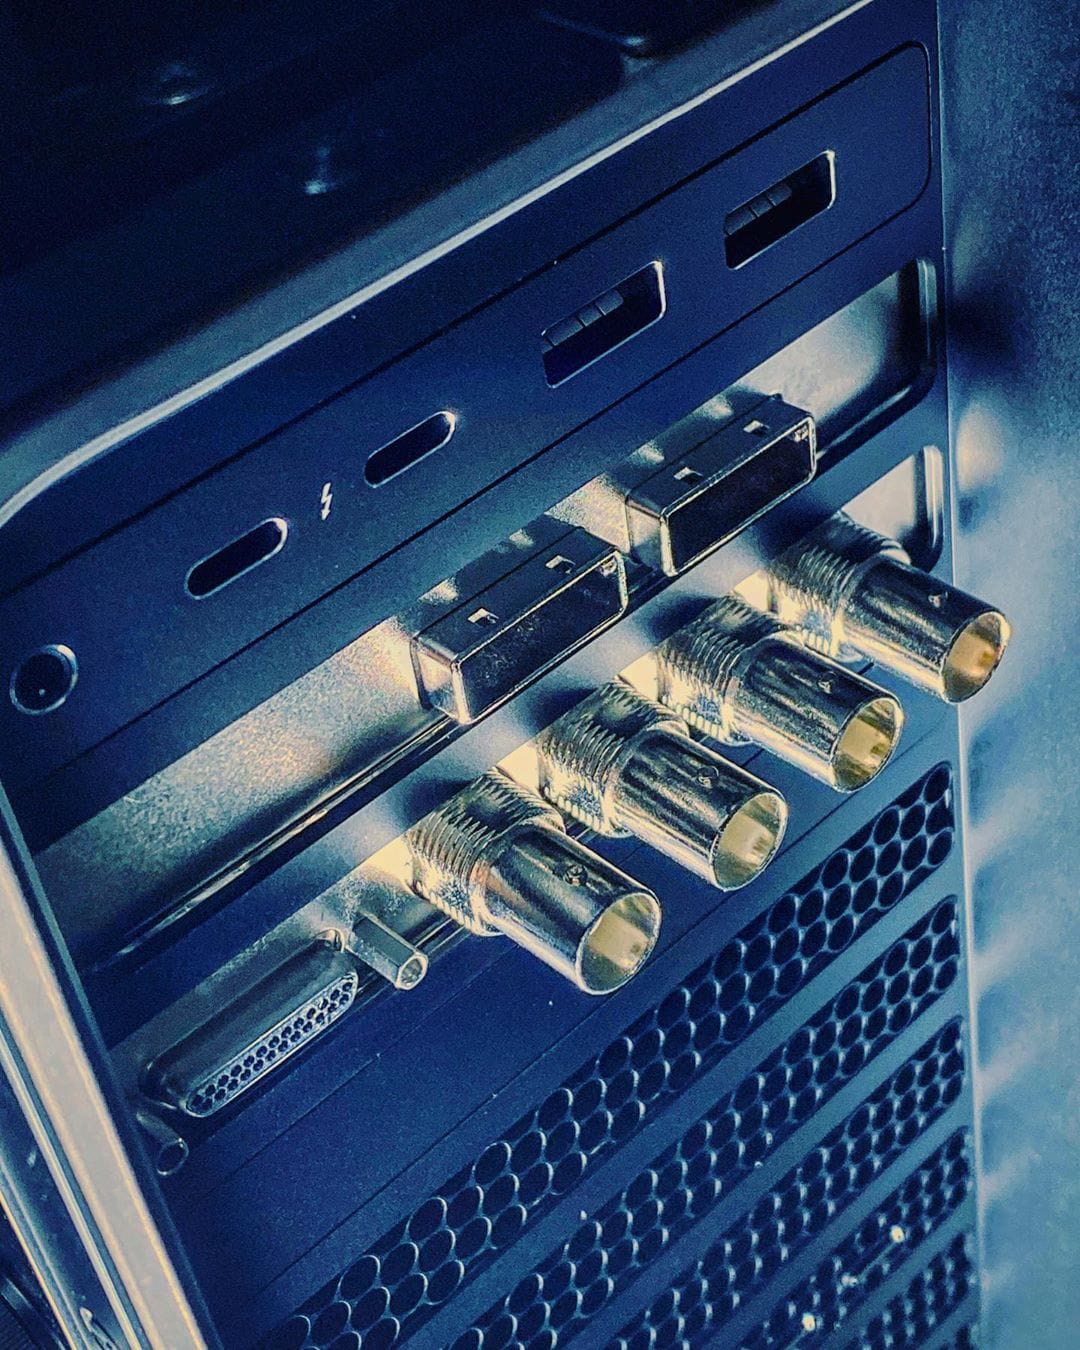
Connectivity
The Mac Pro has dual built-in 10 Gigabit Ethernet ports. This means not only can I connect to my local LAN, and my 10Gb shared storage – I can do it without wasting a PCI slot on a NIC to do so.
It also has USB3 and Thunderbolt3 expansion available, so it will work with just about any modern external drive or USB device – without throttling down transfer speeds.
Expandability
The Mac Pro has 8 PCI-e slots. The top slot is filled by an I/O board, containing USB and Thunderbolt ports. Even so – this leaves lots of room for additional cards, such as storage connections, NVMe cache drives, PCI Decklink cards, and more.
Two of the open PCI slots are double width for GPUs, and also include one of the coolest new features of the Mac Pro: the MPX module.
MPX Module? Come on, more proprietary Apple-only stuff?!
I know! I thought the same thing at first. I assumed the MPX module would be an Apple-specific thing, making future upgrades unpredictable and unlikely. However, the MPX module is simply a standard PCI-e x16 slot – with a second connector behind it for power delivery and additional features, like Thunderbolt connectivity.
I think this is a fantastic design choice. If you’ve ever tried to cram multiple modern GPUs in an HP workstation – you know the pain of the power adaptors and cables you need to actually get those GPUs installed. GPU power cables aren’t exactly great for airflow either.
The MPX solution is so much easier. All I/O and power is delivered to the cards right from the motherboard, allowing an easy install and great airflow.
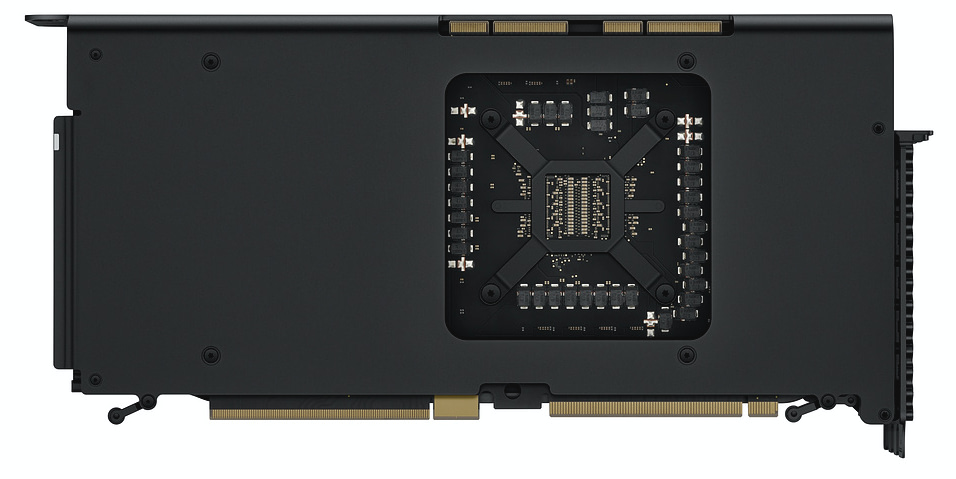
The best news? MPX doesn’t look to be Apple-exclusive! 3rd party vendors are already making their own MPX modules. Promise Technology is shipping an internal RAID solution, that can add 32TB of RAID protected storage into a single MPX module.
Finally – since the MPX module is based around a standard PCI-e slot, if some amazing non-MPX GPU comes out later on – it can still be installed in the Mac Pro as regular PCI. The motherboard even has free, legacy PCI-e power connectors available for such an application.
Build Quality
The 2019 Mac Pro is stunningly well built. I’ve never seen so much machined aluminum in a workstation before. Opening the case is as simple as turning a handle, and sliding the cover off. The only downside? If the system is on a shelf in a rack like mine is – you’ll have to remove it before you can lift off the casing.
From there, the motherboard is a clever, double-sided design. One side holds the PCI slots and CPU, and the RAM is on the back, behind two easy to release covers.
Almost everything in the Mac Pro is easy to install without tools. PCI slots are released with a single switch and thumbscrews. RAM slides in easily into 12 available DIMM slots.
In fact, iFixIt rated it a very high 9/10 for repairability – and for fun, check out iFixIt’s detailed teardown.
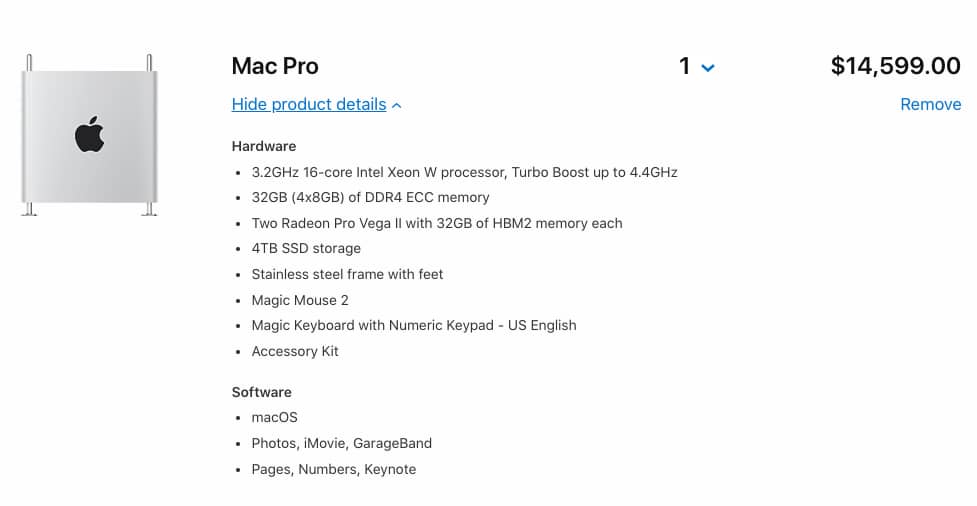
My Configuration
I ordered my Mac Pro with the following specs:
- 3.2GHz 16‑core Intel Xeon W processor, Turbo Boost up to 4.4GHz
- 32GB of DDR4 ECC memory
- Two Radeon Pro Vega II with 32GB of HBM2 memory each
- 4TB SSD storage
I thought a lot about my use case and what would be the best bang for my buck in terms of the work I do, and selected components accordingly.
CPU
The first choice you need to consider, the CPU. I chose the middle of the road, 16 core processor. I feel like this CPU provides a great balance between solid single core clock speed while having enough cores to handle multi-threaded work.
Workloads in Resolve run the gamut from a single thread (many tasks in Fusion, and a lot of encode/decode of files) – to heavily multithreaded. This is why I didn’t want to commit to a huge amount of cores at the cost of clock speed, or cheap out and get a CPU with too few cores.
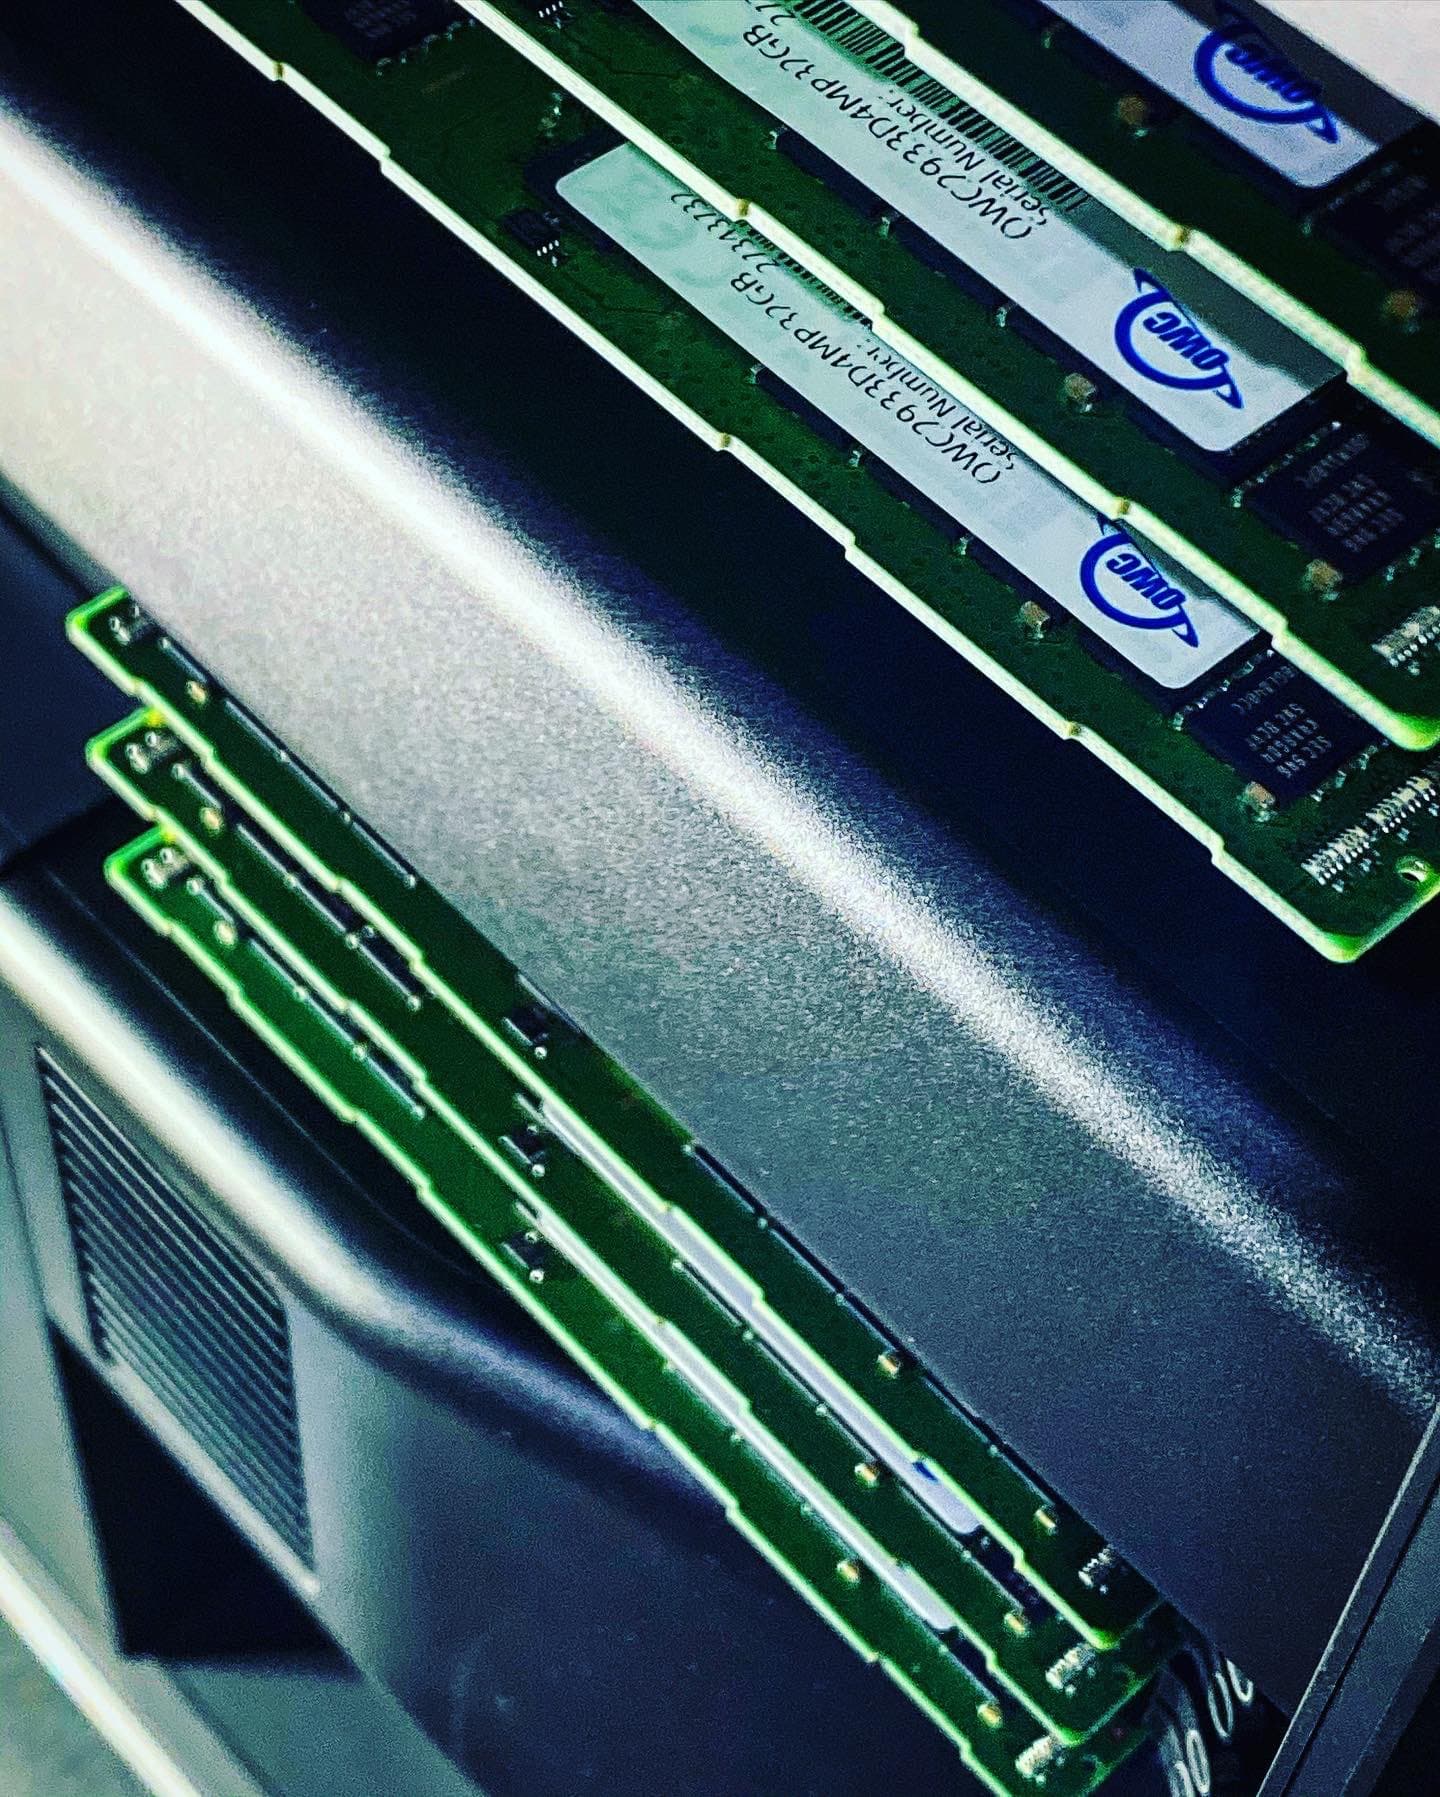
Memory
I ordered the machine with the base amount of memory. One of the best parts about the new Mac Pro is how easy it is to upgrade, and you can buy RAM drastically cheaper from non-Apple sources. So I ordered 12x16GB DIMMs from NewEgg, and installed them myself. Memory upgrades are also available from OWC and other vendors. If you plan on installing your own memory – just make sure to buy the right type of DIMM for your system. Different CPU choices allow for different maximum memory speeds, so be sure to check the specs if you plan on installing your own RAM.
GPU
For color grading – the GPUs are probably one of the most important decisions in a workstation. Apple offers various upgrades, but most colorists will be choosing between the Vega II, and Vega II Duo.
These are the same GPU, but the duo houses 2 GPUs on a single PCI board, allowing for a total of 4 in one system. So why did I buy 2 single GPUs? Why not buy a duo, and leave room to add a second one later?
The answer is simple: bandwidth. While color grading, a GPU is only as good as how fast you can feed it data, and the fact that the duo houses two GPUs on one slot – means each GPU gets half the PCI bandwidth. In some workloads, this difference is negligible. For example, in 3D rendering or AI/deep learning applications, the GPU is usually the bottleneck. The system feeds it data, waits for it to process, and continues when it’s done.
However, for color grading – we are feeding the GPU large amounts of real-time data. This compounds, even more, when you start adding temporal noise reduction or motion estimation, where the GPU has to use multiple frames at a time.
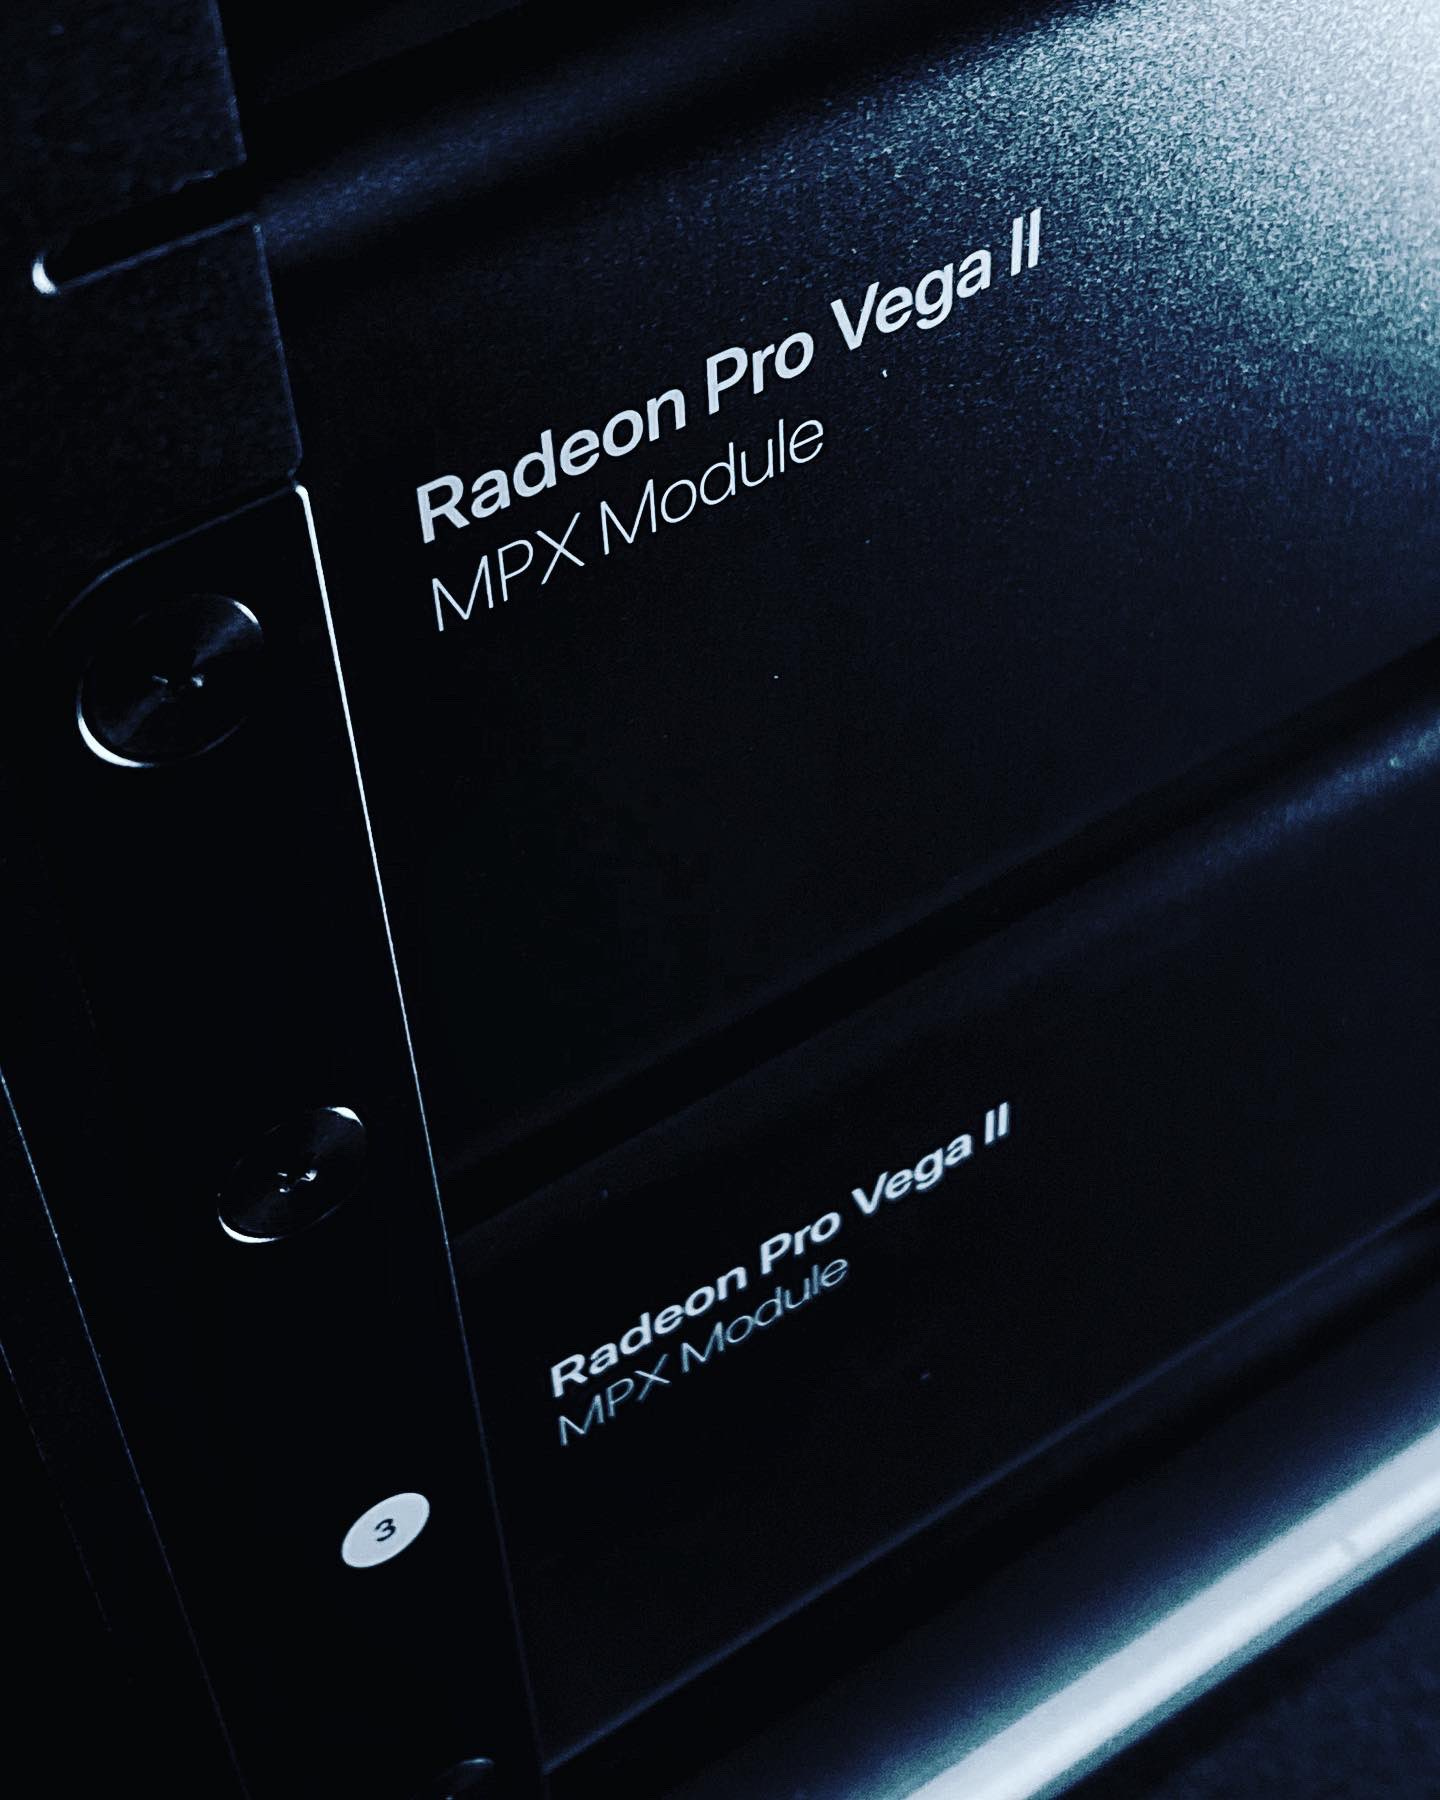
With that in mind, I bought the fastest GPUs available, but in a configuration to give each the most bandwidth. Thankfully, in the dual-single configuration, the Vega IIs can still take advantage of the infinity fabric link, allowing the separate boards to talk to each other directly significantly faster than over the PCI bus.
Storage
I connect to a shared storage system over 10Gb – but even so, I opted for a 4TB internal SSD. I don’t need that much space – but the SSD is one of the only somewhat difficult things in the machine to upgrade, so I went ahead and sprung for a bigger one – in case I ever need it for some high-speed local caching.
SDI Video
Thankfully, Apple has gone back to standard PCI-e for expansion. So, for my SDI output, I installed a Blackmagic PCI Mini Monitor 4k. The install took minutes with no tools, and after installing BMD’s Desktop Video app – Resolve recognized the card immediately. The Mac Pro also has Thunderbolt 3 available – if you already own a Thunderbolt I/O device.
Afterburner? Yes or No?
One of the coolest new options Apple introduced is the Afterburner accelerator. Afterburner is a single-width PCI card, filled with FPGAs that can be programmed to accelerate encode and decode of media. I think it’s a fantastic idea, and it should take a big load off the CPU and GPU when it comes to decoding and playing back video.
So why didn’t I buy one? Well, even though Afterburner is already supported in Resolve – currently it only supports ProRes and ProRes RAW, and that just isn’t the bulk of my work. I use a lot of camera raw formats, DNxHR, and more – so I didn’t feel like the Afterburner was a great investment just yet.
However – because FPGAs are fully programmable – the possibility of adding more formats down the road is definitely there, and my Mac has an x16 PCI slot waiting for an Afterburner if I decide to buy one down the road.
Switching To Mac
I’ve been on PC for so many years – I had some concerns switching to Mac. As I clicked “buy now” on a computer that costs more than my Harley, I started to develop a few concerns.
The UI monitor problem
I’ve been using the same 30” HP GUI monitor since I was on Avid DS. It’s an excellent monitor, with a comfortable resolution of 2560×1600. The issue? It only takes dual link DVI, and there is absolutely no way to get that out of the modern Mac Pro! So I ordered a somewhat cheap UHD UI monitor and a high-speed HDMI cable to connect it to my machine room.
The monitor is just fine for GUI (which I dim way down anyway to keep it from distracting me) – but I want to mention one very important thing: make sure your UI monitor and cabling supports at least a 60hz refresh rate!
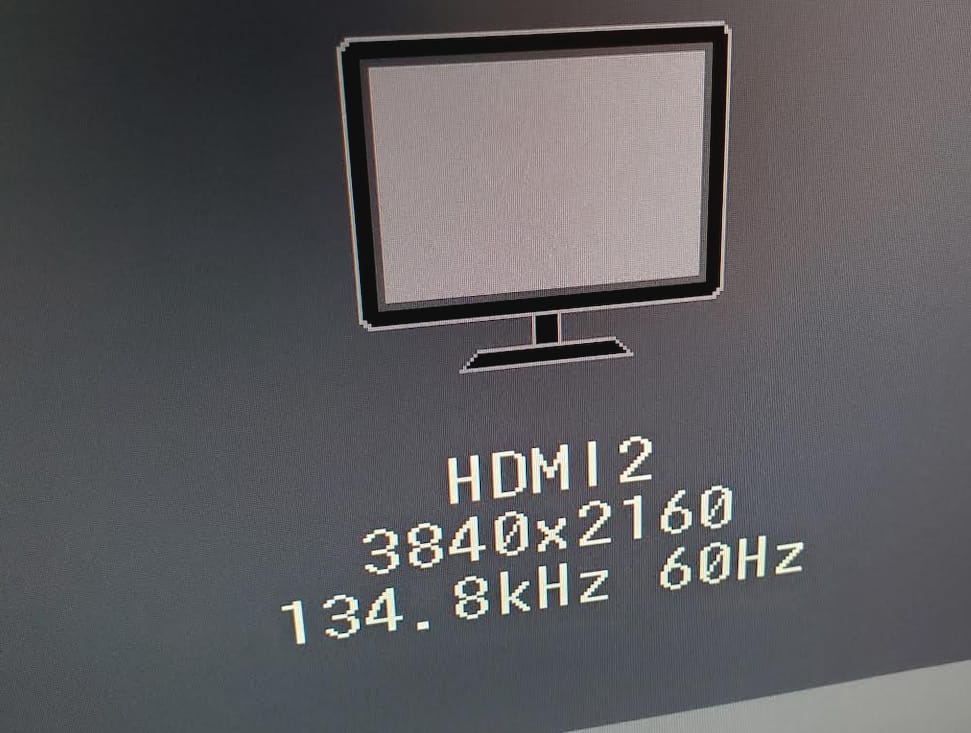
Many UHD monitors only support 30hz over HDMI, so you will need to use an adaptor to DisplayPort or find another solution. If you do notice your monitor syncing up at 30hz, it may be time to get a newer monitor or cable. The mouse lag that comes with a 30hz UI is just unbearable to me.
What about AutoHotKey?
If you’ve seen my Insight on AutoHotKey – you know it’s a fantastic macro tool that I’ve integrated deeply into my workflow. Unfortunately – it is PC only. There is no mac version. This meant I was going to have to find something comparable on mac, and re-create all my macros.
Fortunately, I found an incredible piece of software called Keyboard Maestro, which does pretty much everything I used AutoHotKey for, and is very easy to setup. In fact, I’ll be doing a detailed Insight on Keyboard Maestro later on in the marathon [Editor’s Note: Insights on Keyboard Maestro have been requested by our members many times, we’re glad to see Joey jumping on it!].
Workstation Best Practices
Just buying an expensive, powerful computer doesn’t guarantee you a smooth, trouble-free workflow. The computer is only as good as its configuration and user! With that in mind, I follow a pretty strict set of best practices to keep my investment in a workstation running smoothly.
Separation of Church and State
The workstation is just that – a workstation. I separate any non-work tasks to another machine (in my case, my mac mini assist station). Since Resolve is my primary grading system this means that my Mac Pro literally only has Resolve installed. That’s right. I have a $17,000 computer with only one program on it.
Everything else – and I mean EVERYTHING – lives on the assist station. Email, ScopeBox, Adobe CC, Avid Media Composer, and any other tools I am testing/experimenting with.
This keeps my main system free of any issues – and also helps me work in session day-to-day. If I need to jump into After Effects to render a quick graphic? I can just pop it open on the assist station without losing my place on my main system.
Both the assist station and the Mac Pro are connected to the same shared storage – and the same shared Resolve database, so I can easily do a conform from Premiere or Avid on the assist station, then when it’s time to get grading – open it up on the main workstation.
This disciplined system of keeping my main workstation totally dedicated to its task has served me exceptionally well over the years. It also makes troubleshooting issues when they come up significantly easier, as the number of variables is massively reduced.
Sounds Good – But how does it actually perform?
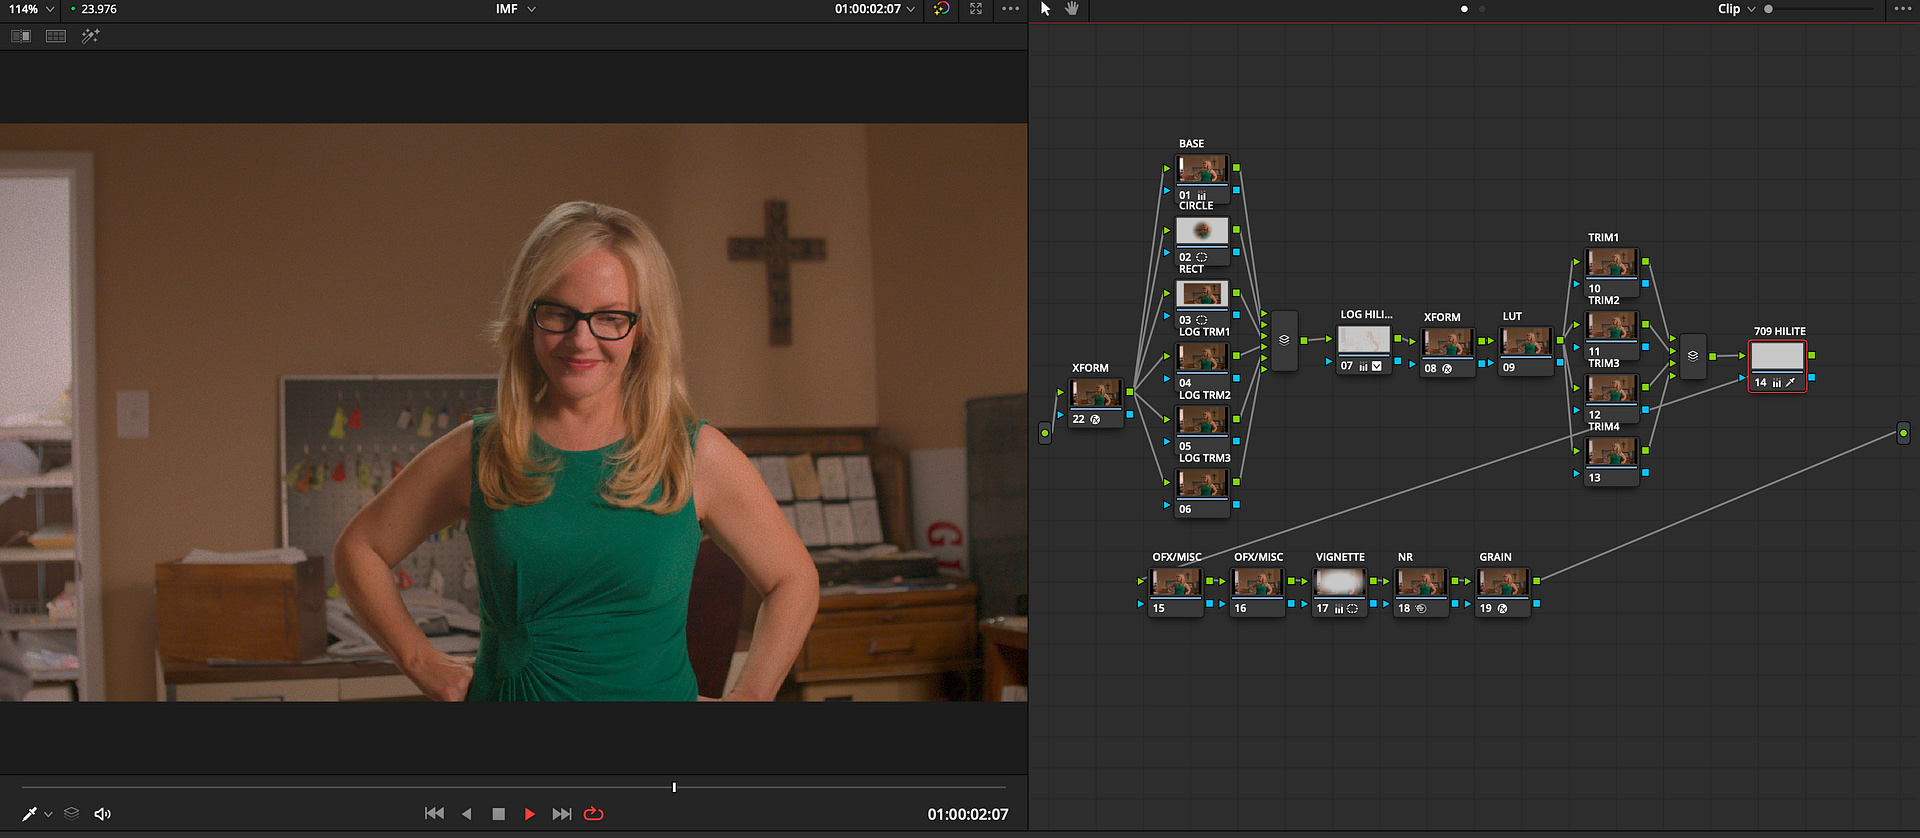
After working on the Mac Pro for a few weeks – I can definitely confirm, this box screams with Resolve. Interactivity is fantastic. Clicking or dragging anything in the timeline feels instantaneous and jogging through timelines with the scroll wheel is butter smooth. Interactivity inside Fusion is absolutely far and away better than it was on my Z840.
Aside from the subjective feel of how fast the UI is – playback performance is also excellent. My fixed node structure is pretty complex – and never played real-time with everything enabled on any system I ran it on. On the Mac Pro? It plays fine, no dropped frames.
Standard Candle benchmark results are equally impressive:
UHD Playback FPS9 blur nodes – 60 |
HD Playback FPS9 blur nodes – 120 |
Does this mean everything is real-time, all the time? No of course not. I build some pretty massive grades that can even make the Mac Pro slow down – but I can always lean on render caching in those cases.
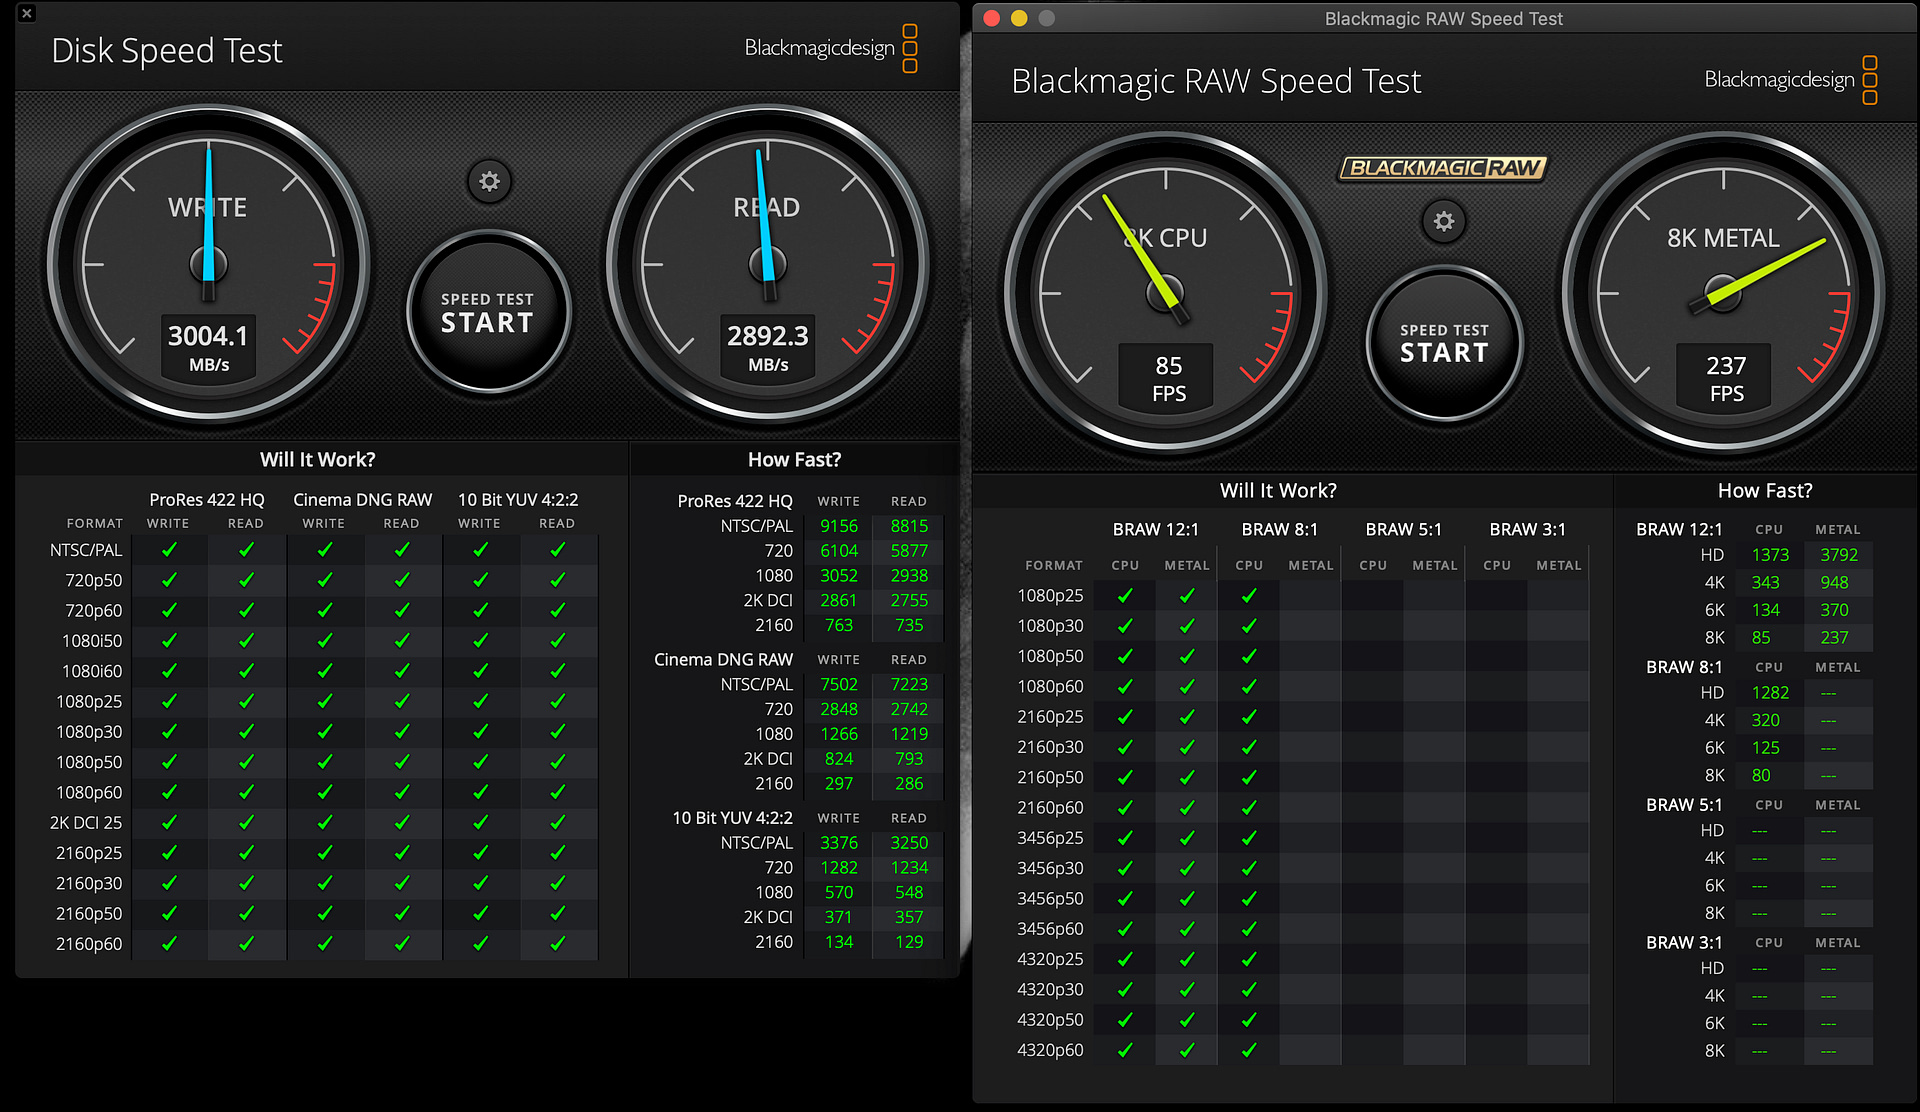
Render speeds? H264 hovers around 200fps. The internal SSD pulls about 2800MB/s. According to the Blackmagic Raw Speed Test – It pulls about 230fps of 8k BRAW playback.
Finally, RED raw plays back in full premium for 6k easily, but struggles a bit in 8k or with heavy grades and TNR. This will improve however, as RED has already announced that they are releasing full Metal decode support for r3d in the next API update!
Final Thoughts
What about Apple’s new XDR Display?
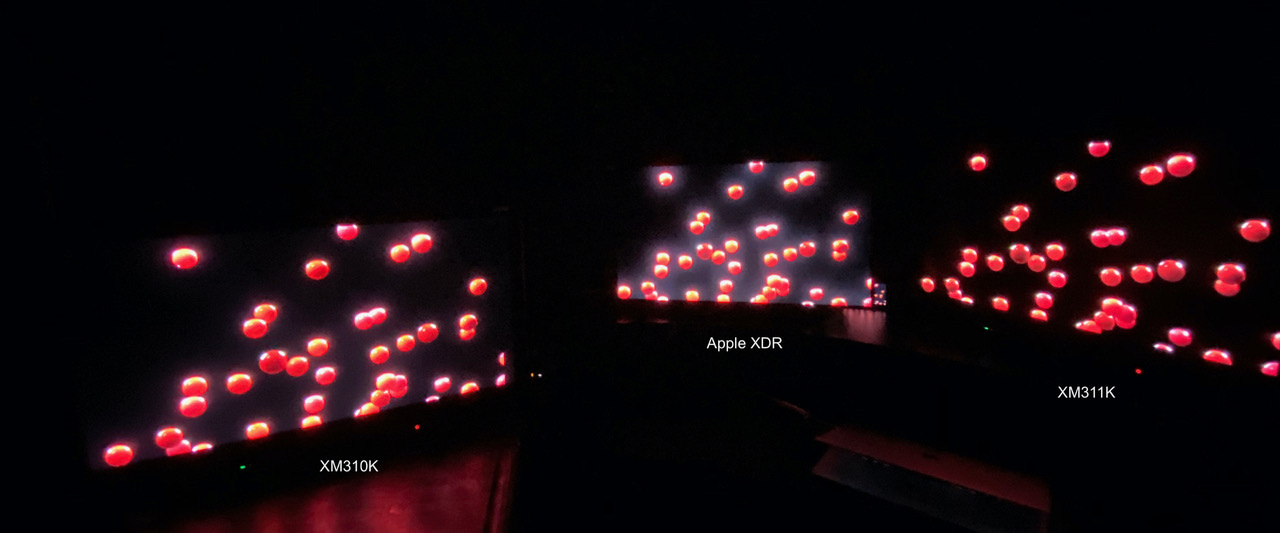
While I was willing to bet on the Mac Pro itself based on the specs and what I saw at release – the same can’t be said about the XDR display. I know a lot of people are hoping that this will finally be the cheap HDR reference monitor they’ve been waiting for – but I started out highly skeptical, and remain so. Recently we were shown an example of the XDR display compared to professional, FSI HDR reference monitors – and Apple XDR’s comparatively small amount of dimming zones show that it results in significantly bad blooming issues.
6K Resolution Is Another Problem for Professional Finishing
Blooming aside – the XDR is an oddball 6k resolution – which doesn’t conform to any video standard. Every HD, UHD or 4k image must be either severely pillarboxed/letterboxed – or (worse) resampled to scale to full screen, I simply wouldn’t trust the XDR for critical detail viewing. That said – we don’t have one in our hands yet, so we will be sure to follow up with a much more detailed examination of the display when we get one. For now – I would hold off on buying the XDR, unless you only want it as an excellent GUI/Gaming monitor.
Conclusions
So bottom line – Is the 2019 Mac Pro worth the price? I wasn’t joking when I said this computer cost more then my Harley. In fact, it cost a few thousand more.

Price is definitely an important factor, and the Mac Pro is a very expensive piece of equipment. However, compared to similar spec’d HP or Dell workstations, the cost difference isn’t massive. At the end of the day, this is a workstation I’ll be using it every single day to run my business and make income. It’s design, expandability, flexibility and features meet my needs very well, and save me from a lot of headaches that I don’t want to deal with.
I honestly think this machine will last me for another 5 years at the very least. With that kind of service life – the price feels much more reasonable. Just like the Harley – in this case I truly think it’s worth spending the money on the premium product.
If you have any questions, or have ideas of things you would like me to test out on the new system – leave them in the comments below.
-Joey
-
Revisiting Noise Reduction Part 2 – Digging Into Neat Video 5
-
An Overview of DaVinci Resolve 16’s Cut Page
-
Quick Export: Customizing Resolve’s New Export Feature
-
Separating Your Selections from Corrections in DaVinci Resolve
-
Grading Challenge – Modern Sci-Fi Brief
-
Revisiting Temporal and Spacial Noise Reduction in DaVinci Resolve
-
Removing Unwanted Elements Using ResolveFX Revival Plugins
-
Colorist Inspiration – January 2020
View All